On this page
This is a StreamSera Pro feature. Try Pro free for 3 days or see the plans.
Let listeners request songs and send shout-outs from your player. Requests wait on the Requests page until you approve them, and your presenter can follow them on a full-screen on-air board.
Step 1: Turn on requests#
Go to StreamSera → Settings → Listeners.
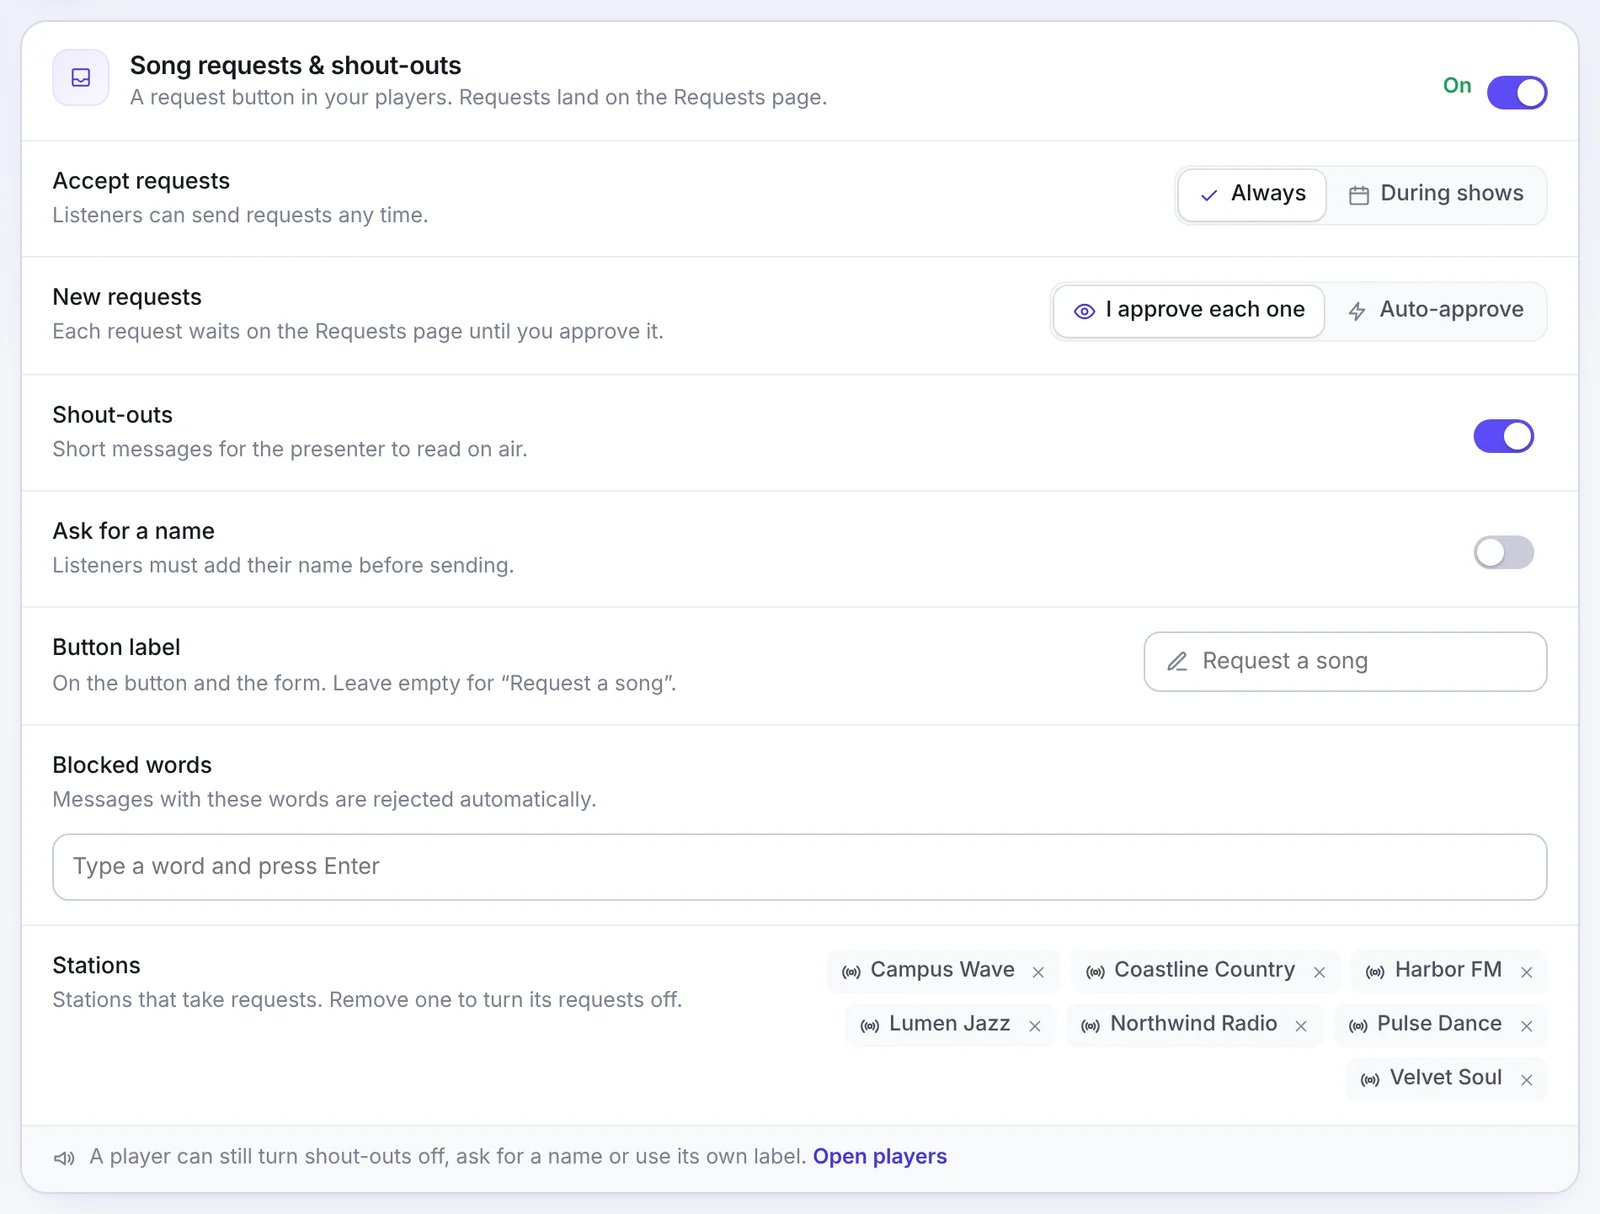
- Accept requests: Always, or only During shows.
- New requests: I approve each one, or Auto-approve.
- Shout-outs: short messages for the presenter to read on air.
- Ask for a name: listeners must add their name before sending.
- Button label: the text on the button and form. Leave empty for “Request a song”.
- Blocked words: messages with these words are rejected automatically.
- Stations: the stations that take requests. Remove one to turn its requests off.
Step 2: Add the request button to a player#
- Open the player in StreamSera → Players.
- Click Engagement and switch on Song requests & shout-outs.
- Save.
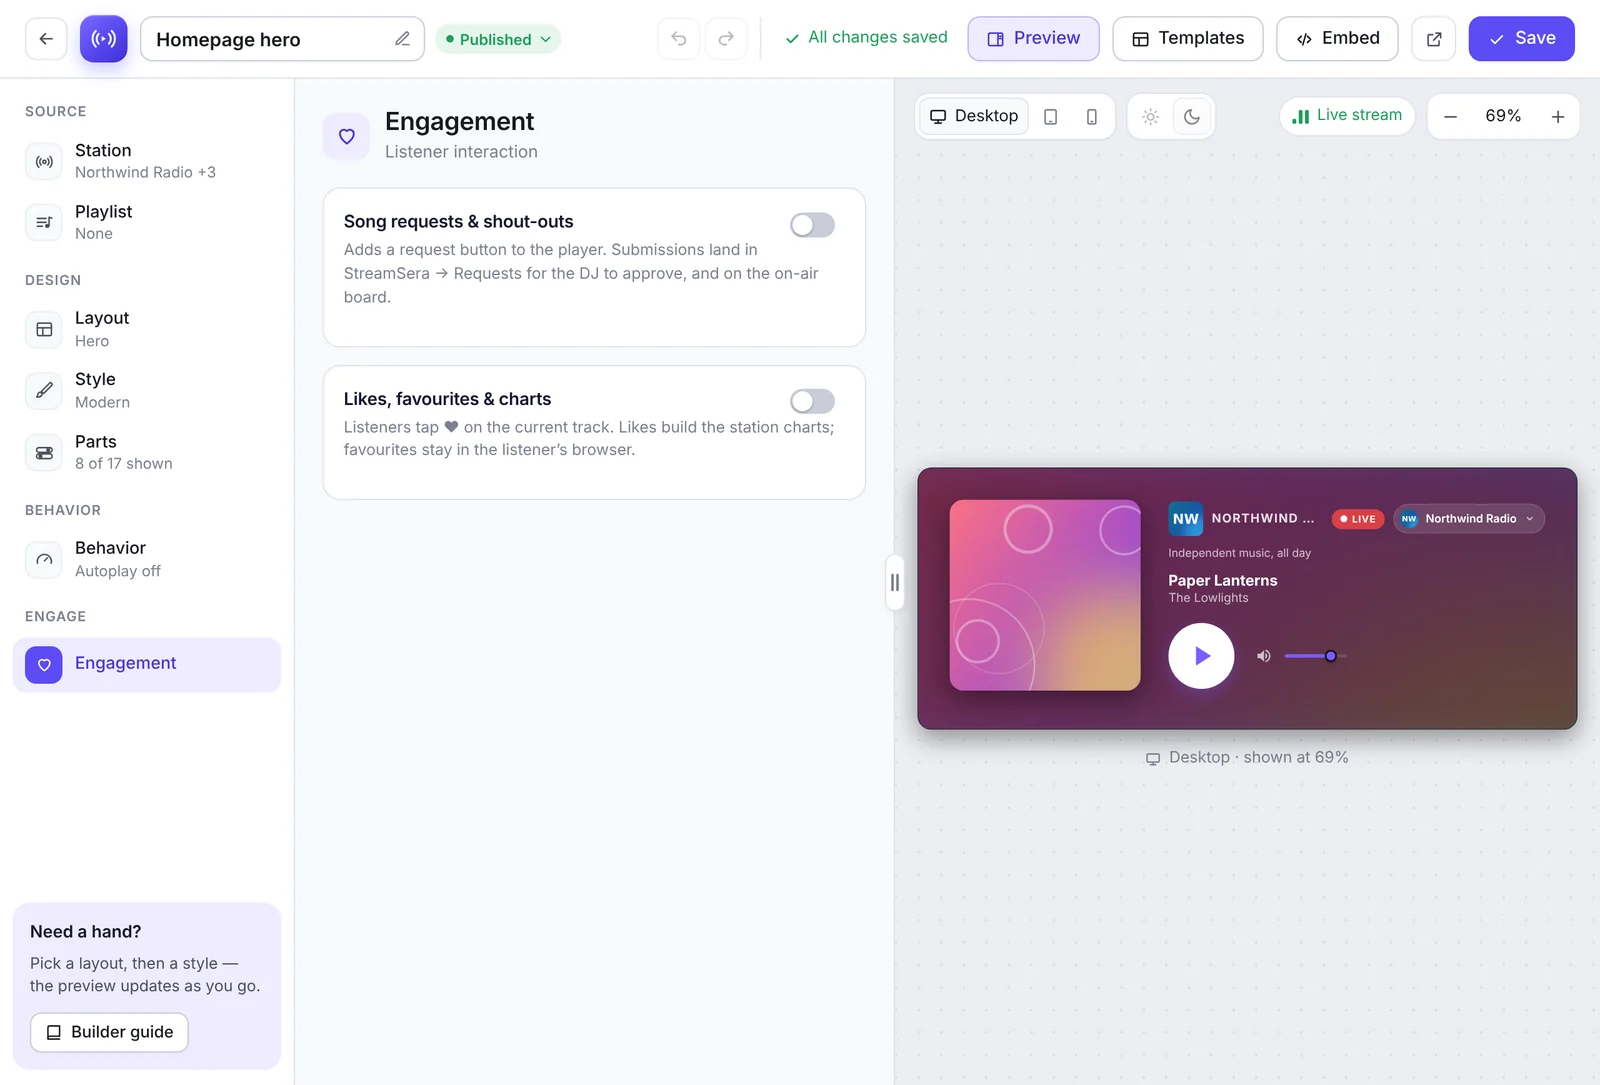
A player can turn shout-outs off, ask for a name or use its own button label, whatever the site-wide settings say.
Step 3: Moderate requests#
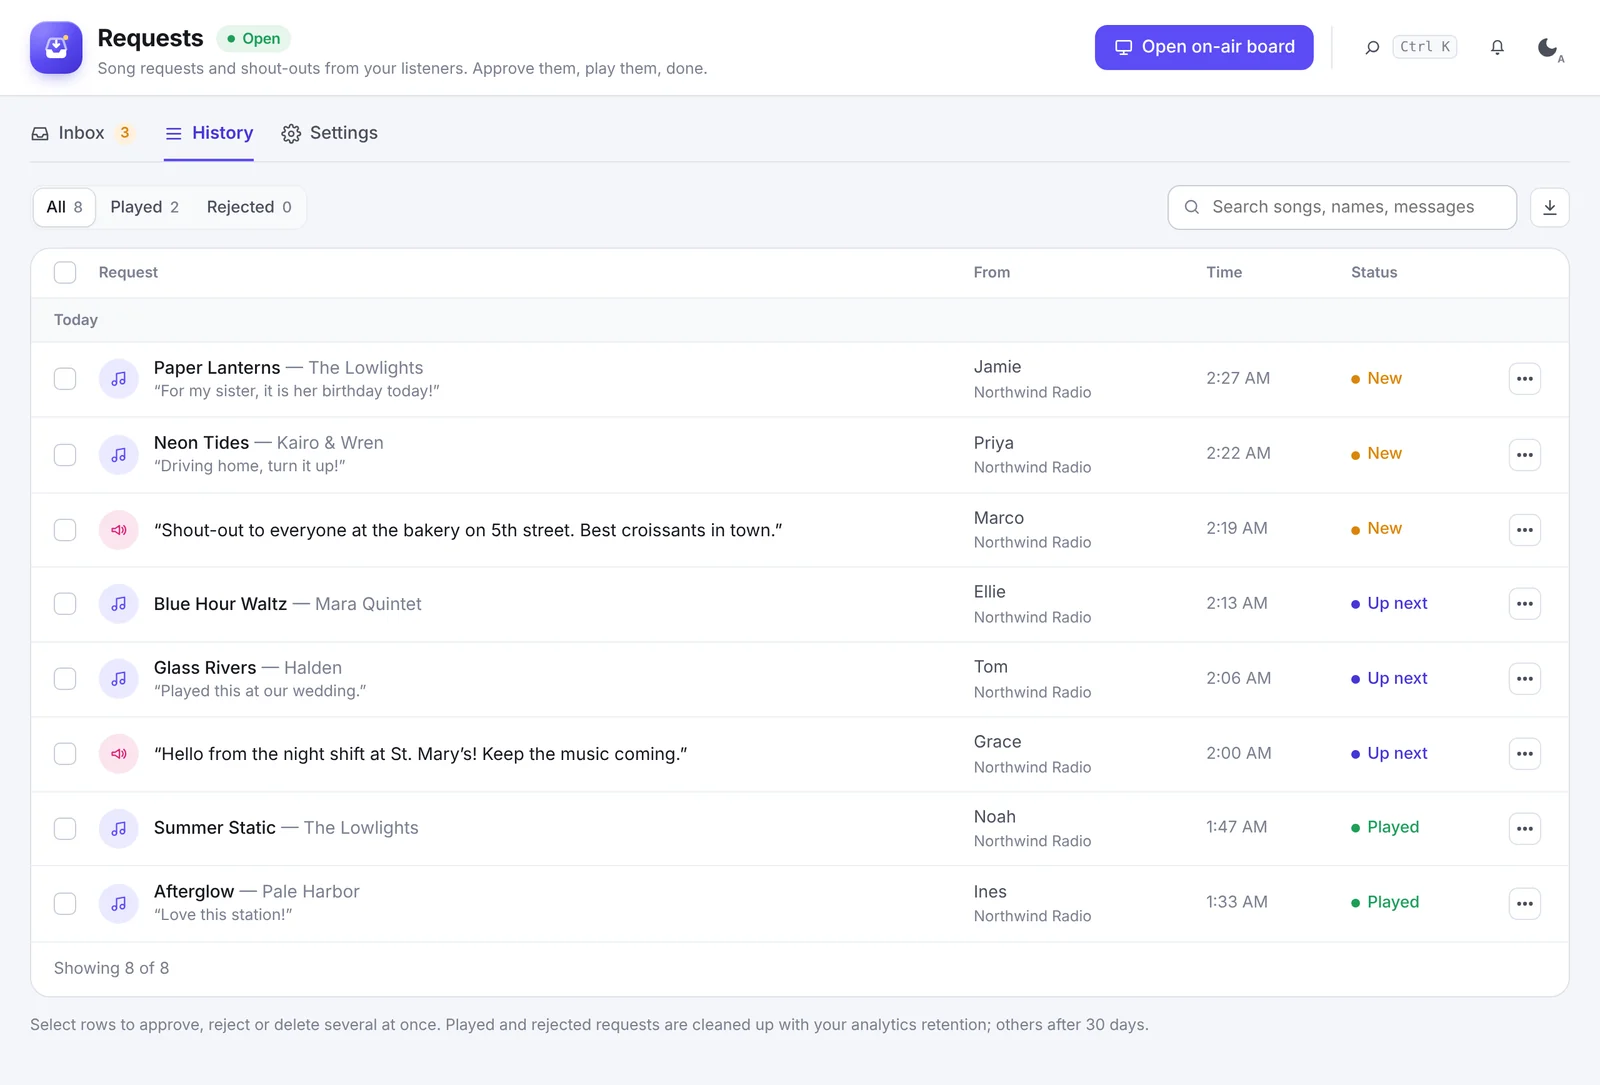
Go to StreamSera → Requests. The Inbox shows New requests, Up next (approved) and Played. Filter by songs or shout-outs, search, or pick a station.
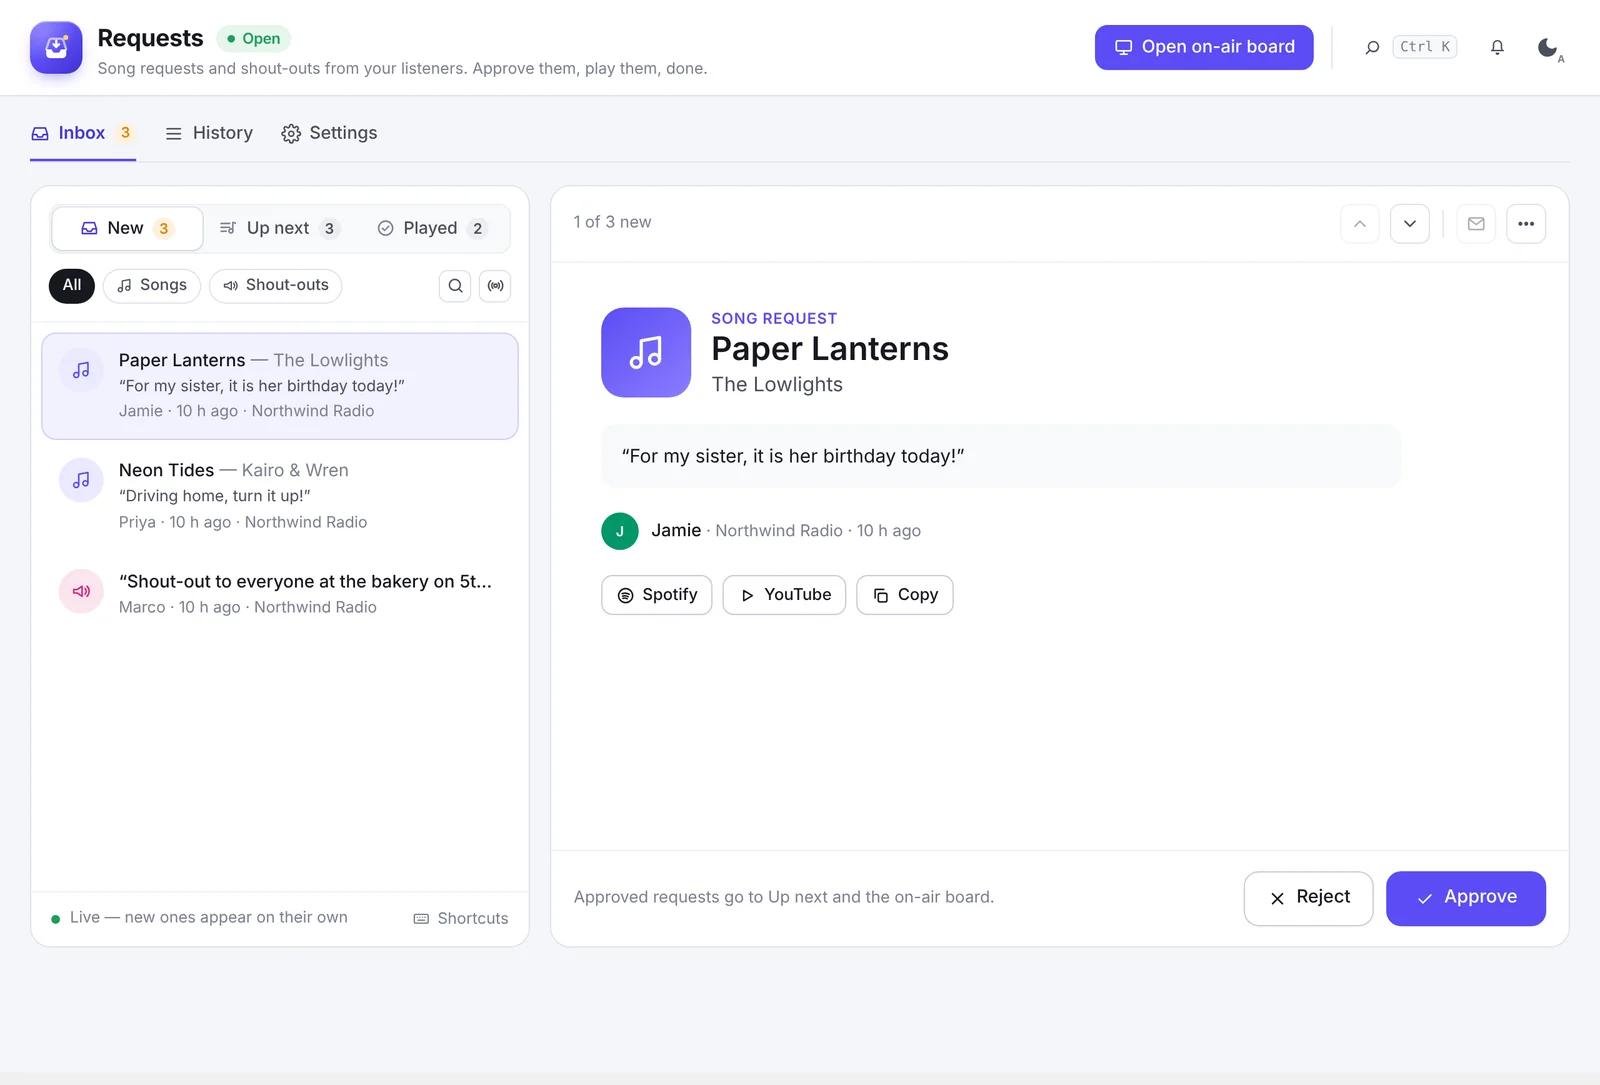
- Click a request to see it, then Approve or Reject.
- After you play an approved song, mark it as played.
- Use the keyboard: the Shortcuts button lists the keys for fast moderation.
The History tab lists every request. Tick rows to approve, reject or delete several at once, or click Export CSV.
The on-air board#
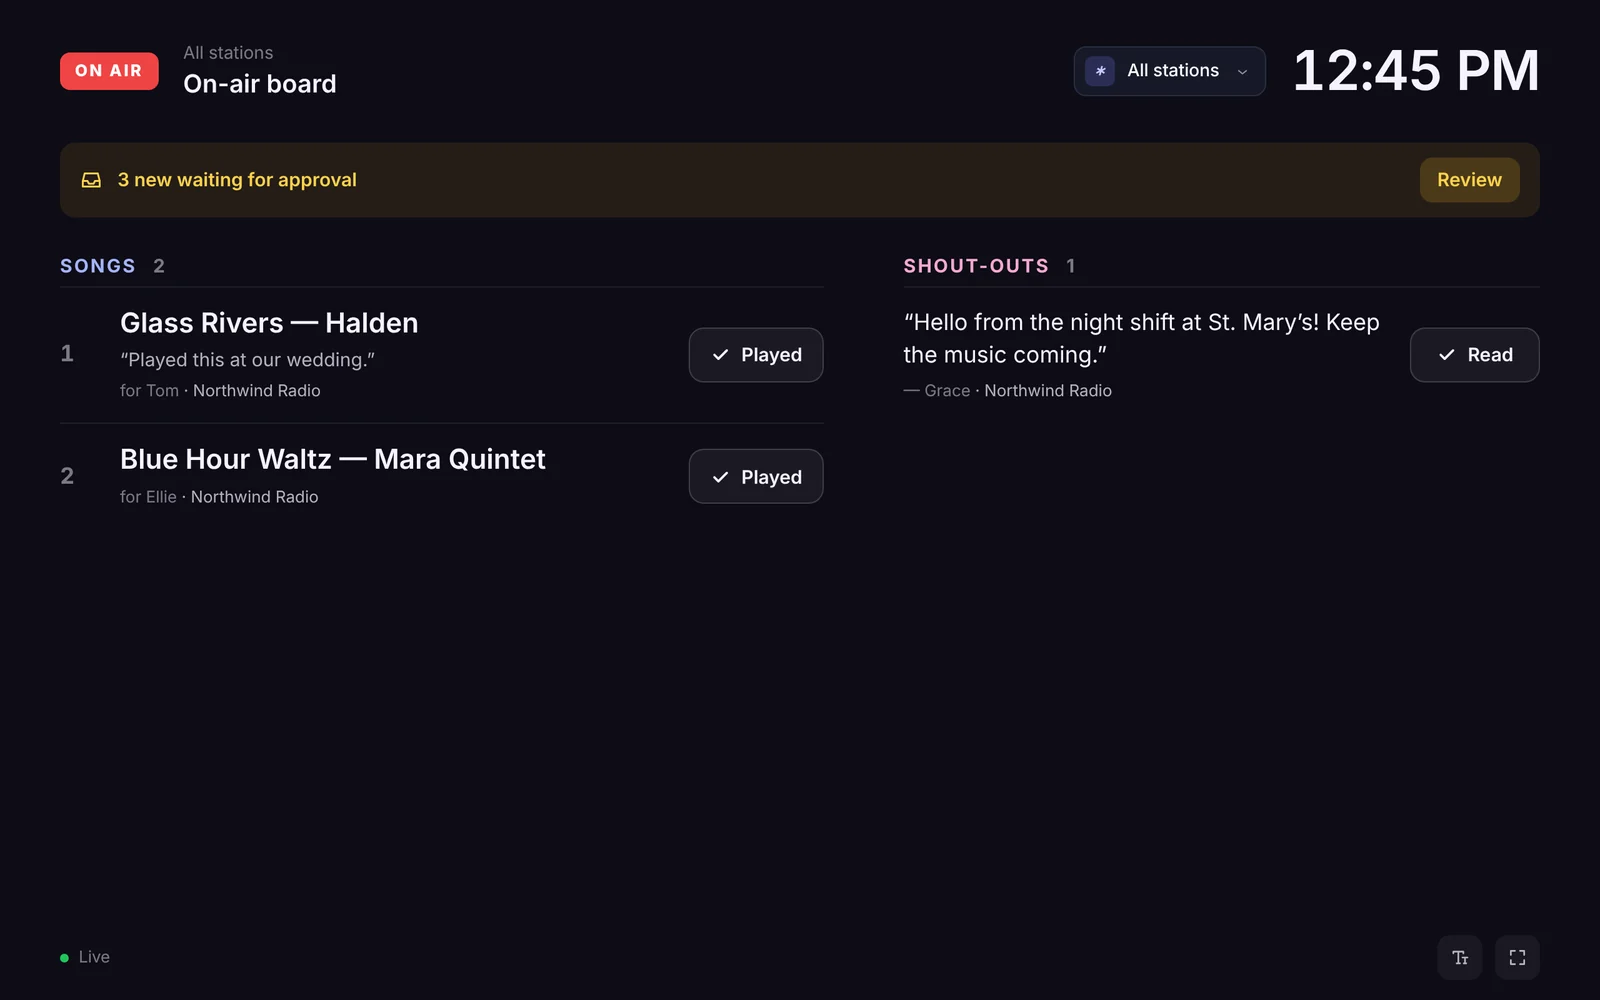
Click Open on-air board for a full-screen list of approved requests and shout-outs for the studio. Open it on any screen; it refreshes itself. Copy its link under Settings → Listeners → Notifications.
Notifications#
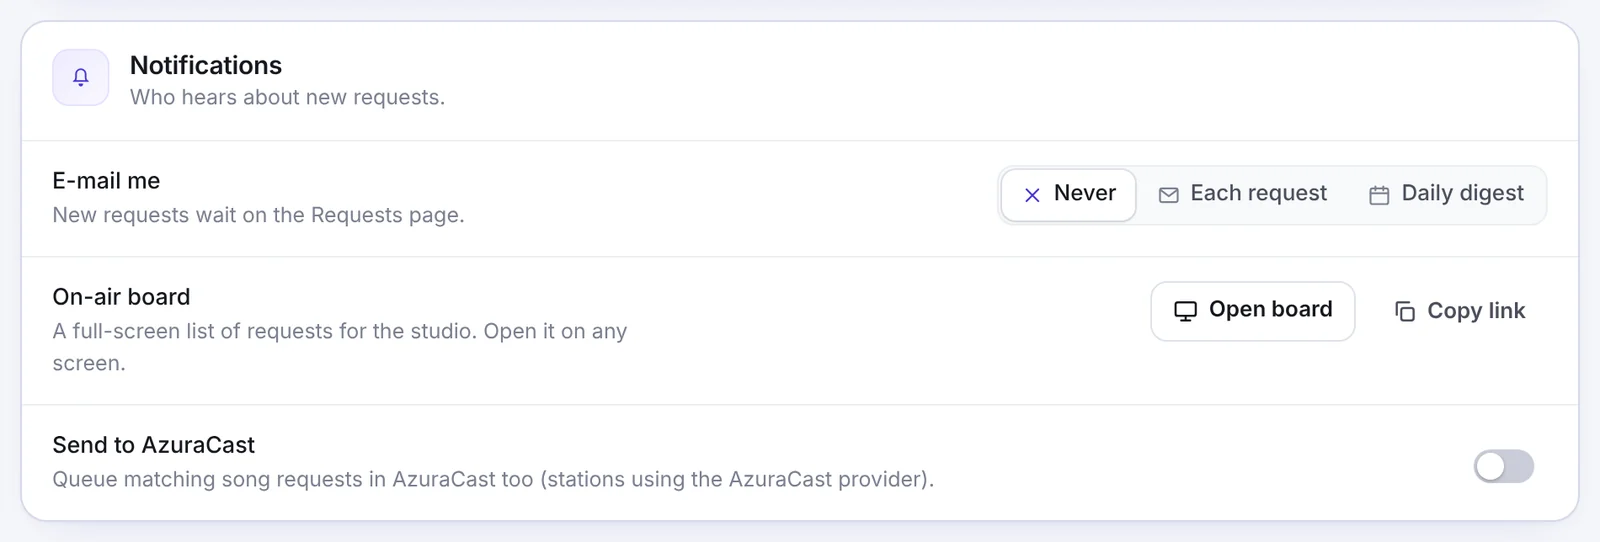
- E-mail me: never, for each request, or a daily digest.
- On-air board: open or copy the board link.
- Send to AzuraCast: queue matching song requests in AzuraCast too, for stations using the AzuraCast source.
Likes and charts#
Listeners can tap a heart on the song that is playing. Likes feed your top-tracks chart.
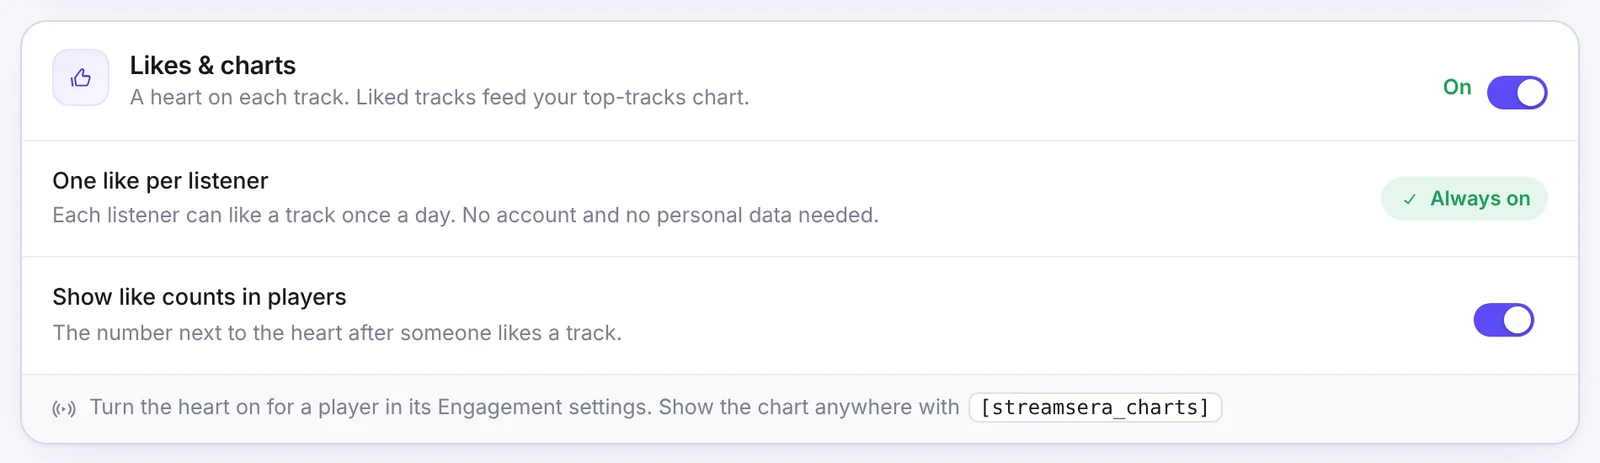
- Turn the heart on for a player under Engagement → Likes, favourites & charts.
- One like per listener: each listener can like a track once a day, with no account and no personal data.
- Show like counts in players: show the number next to the heart.
- Show the chart anywhere with the Charts block or
[streamsera_charts station="5" period="week"].
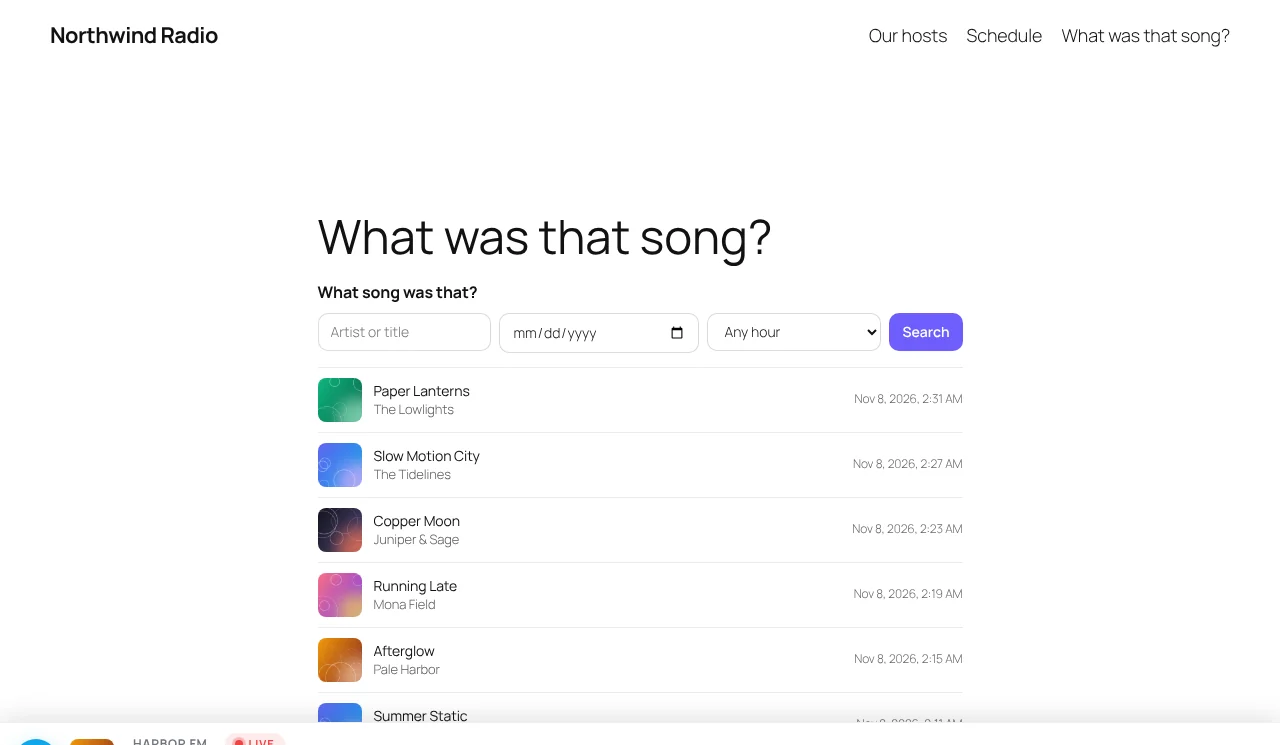
“What song was that?” Track history#
Every song played is kept in a searchable track history. Add it to a page with the Track history block or [streamsera_history station="5"]. Set how long it is kept under Settings → Streams & now playing → Track history.